-40%
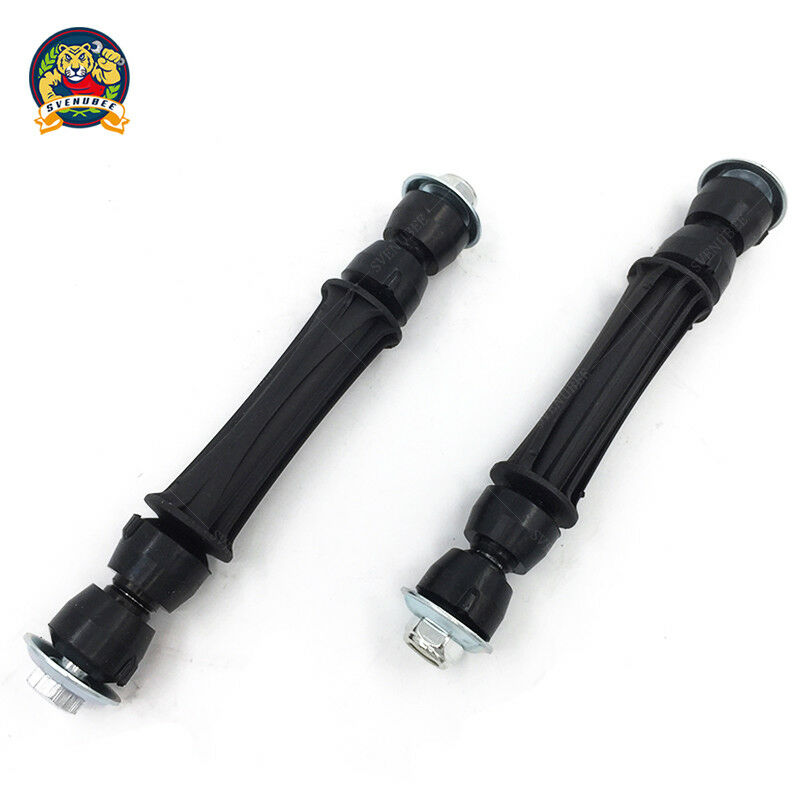
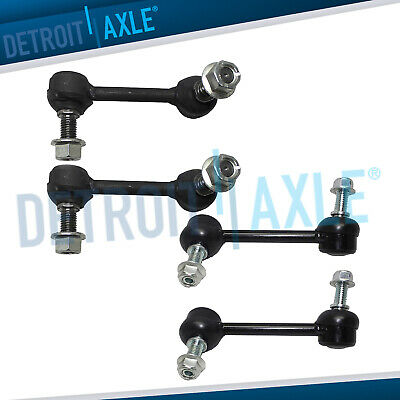
S2000 swaybar endlinks (set of 4)
$ 39.6
- Description
- Size Guide
Description
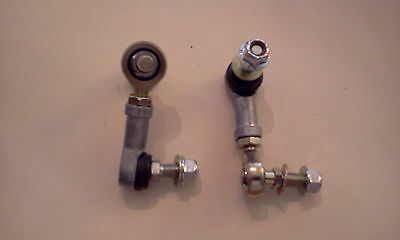
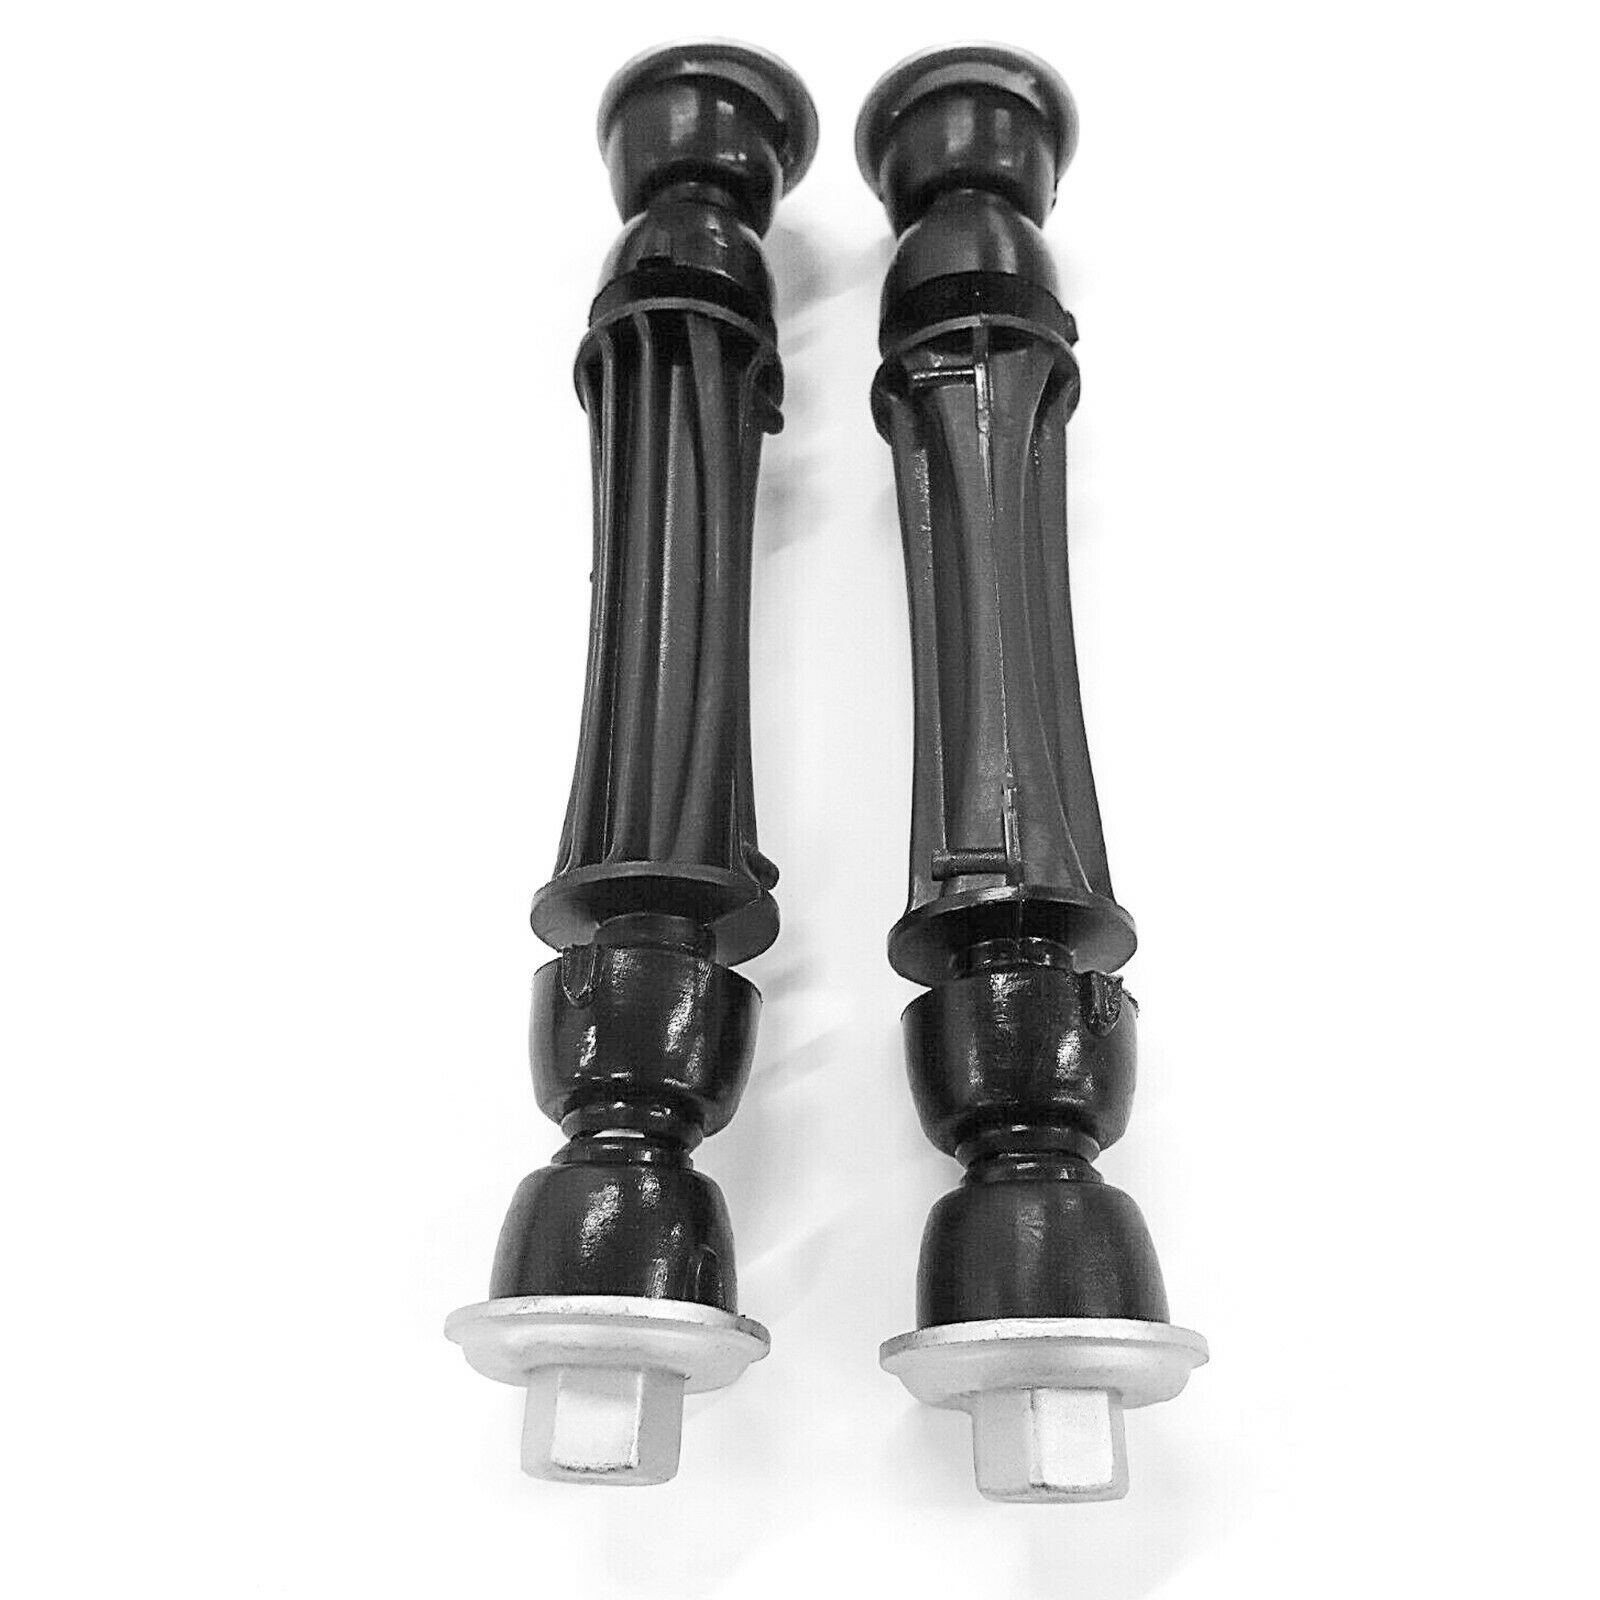
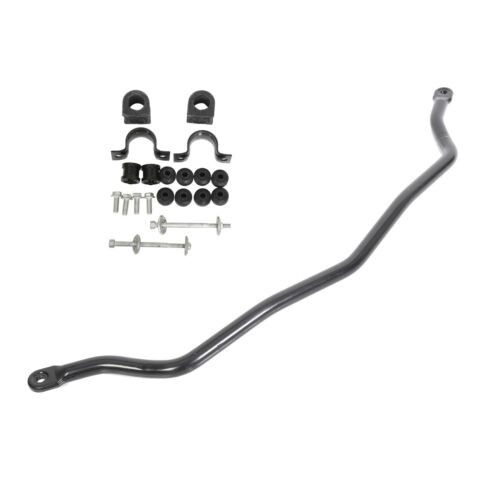
This is a set of new adjustable swaybar endlinks for the Honda S2000 for use on lowered or competition cars to remove swaybar bind or replace corroded or stripped OEM endlinks.Contents: The kit should include the following:
4 Sway bar end links consisting of the following:
• 2 Neoprene studded heim joints per front link (2 total)
• 2 Sealed ball joints per front link (2 total)
• 2 Sealed ball joints per rear link (4 total)
• 2 Nylock zinc plated nuts per link (8 total)
• 2 Zinc plated jam nuts per link (8 total)
• 1 Zinc plated threaded rod (2 total)
• 2 Zinc plated washers (8 total)
Installation:
1) Jack up front of car (secure rear wheels with wheel chocks)
2) Remove both front wheels
3) Remove the OE end links from both drivers and passengers side.
4) Loosen the jam nuts on your new end links and adjust them to the exact same length as your OE end links. Since you can thread both ends out be sure to leave at least 1/8” of thread engaged on each ball joint.
5) Once the length is a match, re-tighten the jam nuts.
6) Install in place of the original end links in the following order:: Ball joint > zinc coated washer > sway bar > zinc plated nylock nut
7) Bolt wheels back on and lower car
8) Repeat process for rear axle
Adjustment and setting sway bar pre-load:
In order to properly set pre-load with adjustable end-links this process MUST be performed with all 4 wheels on the ground. This means you will need to be able to access the underside of the car during the process without using a jack. This may mean you need access to ramps. If you are not comfortable with this, you should let an alignment professional perform this process.
1) With the car at rest disconnect one end of one end link on each axle. This will remove any torsional load on the sway bar.
2) Loosen the jam nuts and adjust the end link until it can be re-connected without moving the sway bar from its resting position.
3) Repeat this process for the other axle.
